Preparation Tools and Key Steps for Installing Automatic Bollards
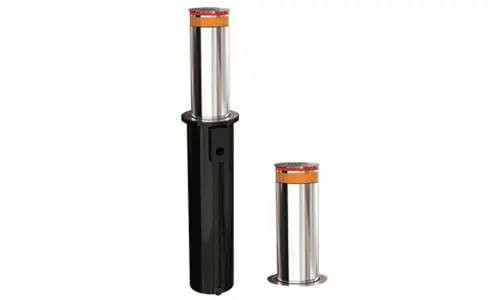
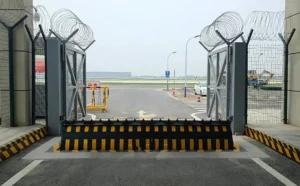
In our previous article, we outlined the essential preparation steps for a smooth installation of automatic bollards. With those preparations in place, this guide now focuses on the specific tools needed, step-by-step procedures, and key precautions to ensure the bollards are securely installed and perform reliably over the long term. Automatic bollards (also known as rising or retractable bollards) are highly effective solutions for secure vehicle access control, but a successful installation requires precision and the right approach.
By following this detailed guide, you’ll learn not only how to prepare the installation site but also how to conduct essential checks and handle final adjustments, setting the stage for safe and stable bollard operations.
Step 1: Site Survey and Preparation
Before starting the installation, conduct a thorough site survey to check for underground cables, water pipes, or fiber optics that might interfere. This step helps avoid potential hazards during digging. For sites prone to flooding or low-lying areas, consider adding drainage to protect the bollard foundation.
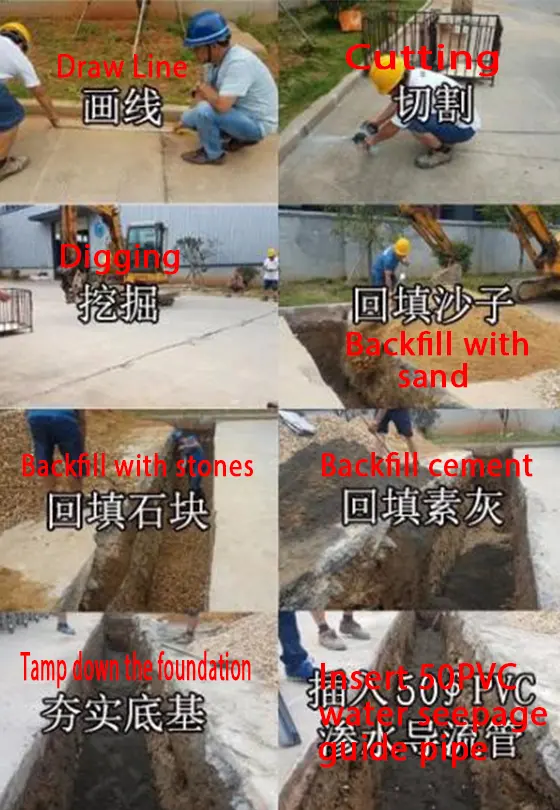
Step 2: Marking and Excavation of Foundation Pits
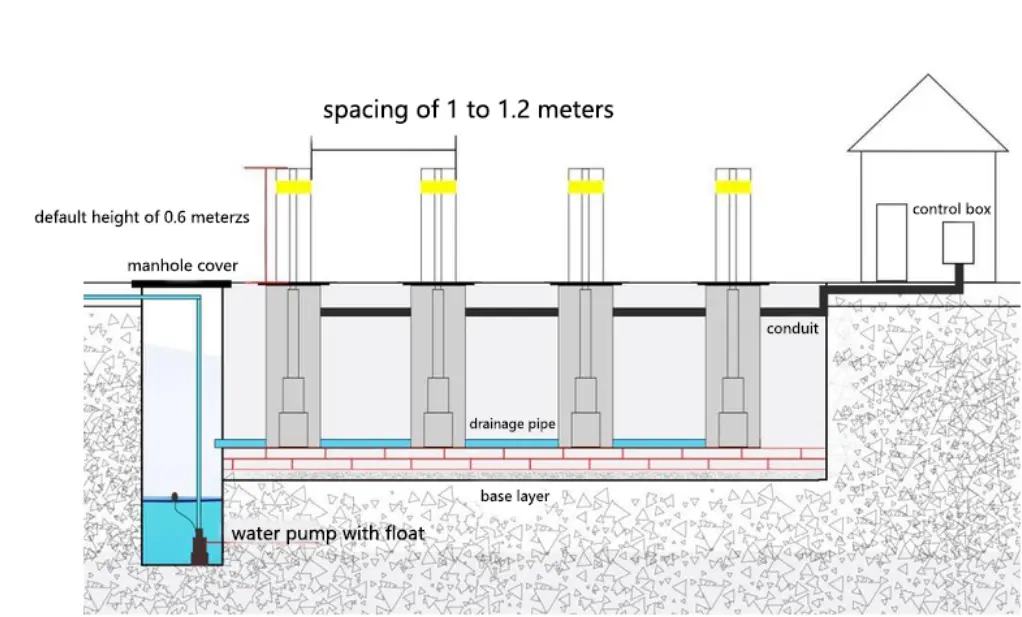
Mark the foundation pit locations according to the number of bollards being installed. Recommended pit dimensions are typically 600mm in width and 1300mm in depth (including a 200mm concrete layer or drainage layer).
Automatic bollards should be spaced 1 to 1.2 meters apart for optimal functionality and stability.
Step 3: Establishing a Solid Foundation
Drainage Layer: For stable, flood-prone sites, install a drainage layer by placing a 200mm mix of gravel and sand at the pit bottom to prevent sinking. Use gravel no larger than 10mm for better stability if sand is not available.
Concrete Base: In flood-prone areas, prepare a concrete layer at the pit base for additional support, preventing the equipment from shifting or settling.
Step 4: Installing Drainage and Electrical Conduits
If the location requires drainage, use PVC pipes (minimum 500mm diameter and 1500mm in length) to connect to a drainage well or system. Ensure all electrical cables are routed through waterproof conduits to avoid exposure to moisture. Typical cable specifications include:
- Motor Cables: 2.5mm² three-core cables for each bollard.
- LED and Solenoid Cables: 1mm² two-core cables for each connection.
Step 5: Testing and Securing the Automatic Bollard Installation
Once the bollards are positioned, test the motor function to ensure they rise and lower smoothly. Adjust their placement to be 300mm below ground level before filling with concrete, allowing the remaining 300mm to be filled in stages. This prevents misalignment and ensures a strong, stable base.
Important Installation Tips
- Waterproof Electrical Connections: Wrap all electrical connections with high-pressure waterproof tape and secure with additional layers of electrical tape for maximum moisture protection.
- Verify Connections: Perform final tests on the control box, checking the solenoid valve and LED wiring. Ensure secure connections by gently pulling each wire.
Installation Process Diagram (Active Drainage System)
Applicable for areas prone to frequent flooding, low-lying installation sites, and locations with poor drainage.
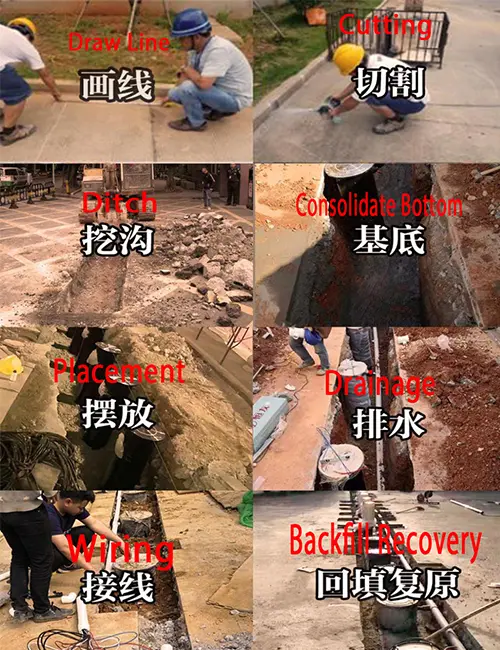
Natural Drainage Permeable Layer Construction Diagram
Applicable for areas with low annual rainfall and installation sites with elevated terrain advantages.
Daily Maintenance and Inspection
Regular maintenance is key to prolonging the lifespan of automatic bollards. Here are essential maintenance tips:
- Power Off for Maintenance: Always disconnect the power and clearly mark the area when performing electrical maintenance.
- Monthly Checks: Test the control buttons, switches, and LED indicators every month. Tighten any loose electrical connections to prevent malfunction.
- Battery Inspection: Ensure that the battery is adequately charged for emergencies, particularly for lowering bollards in a power outage.
- Dust Removal: Regularly clean the surface, control system, and hydraulic mechanisms to prevent dust buildup.
- Reinforce Screws: Periodically check and tighten all bolts and screws on the bollard structure.
This installation and maintenance guide for automatic bollards ensures smooth setup and reliable operation, providing a robust security solution for your facility. By following these steps and implementing regular checks, your bollards will function efficiently, maintaining high standards of safety and access control.


